Add some glitter to RPi Docker containers
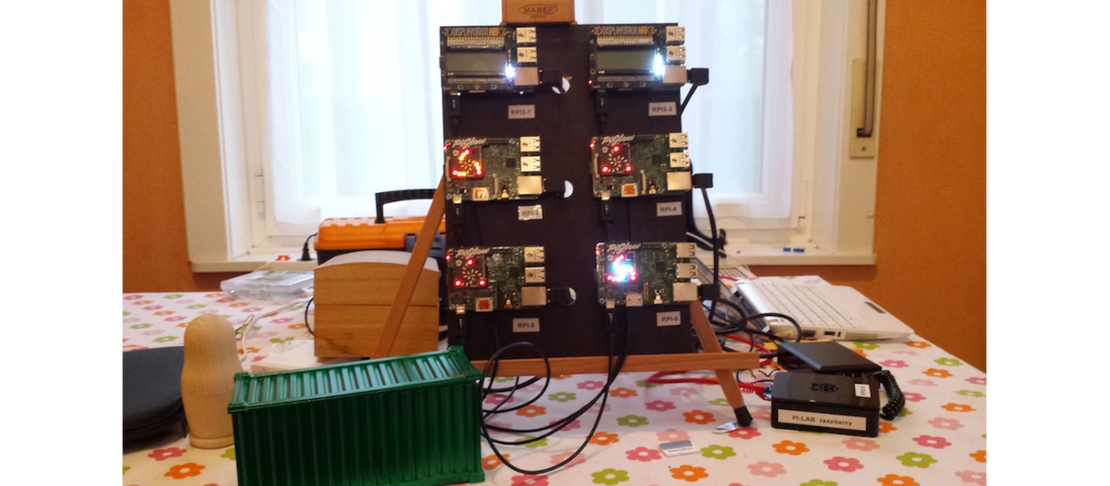
With limited investment, the Raspberry Pi is a great platform to touch, learn and demonstrate many concepts of modern computing. Docker has very rapidly found its way on the RPi, mainly with the help of the Hypriot distribution. I use a flock of RPi to demonstrate and help visualize many Docker concepts.
With its hardware interfacing capabilities, the Raspberry Pi is also a very popular IOT platform. For IOT, Docker could have the same “mass innovation” enabling effect as for mainstream computing. “build, ship and run” opens indeed interesting perspectives in the field of IOT.
While preparing a training lab with my herd of RPis, I wondered if I could demonstrate that aspect of Docker. These are some notes about my experiments.
Pimoroni builds several devices that plug on the Raspberry Pi GPIO. They are well designed, reasonably priced and often useful. The software support is good. Thus a good starting point for hassle free experiments.
Containing the Piglow
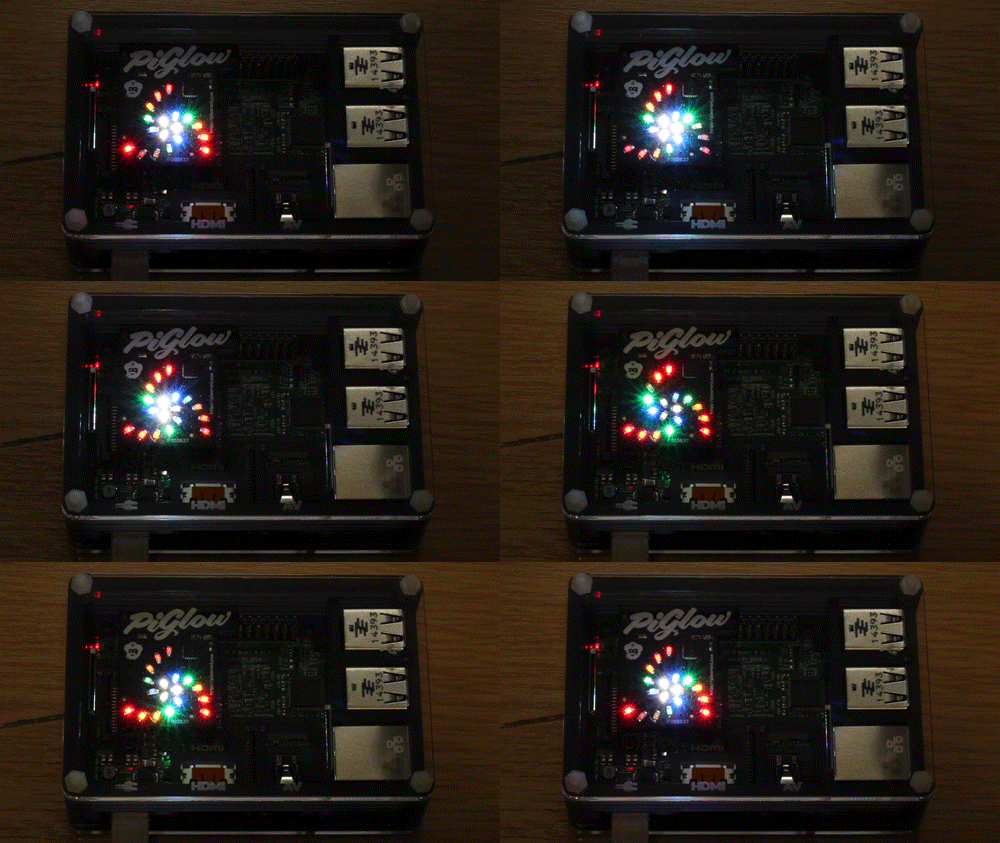
The first candidate was the Piglow.

This small PCB is plugged on the GPIO header and steered via one of the serial line available on this interface, called I2C. The Pimoroni supplied example python code shows how to control the individual LED. A good sample to start with was the CPU load visualizer (cpu.py).
I first made it work directly on my RPI2 with the Hypriot distribution. It is important to load the relevant kernel modules (i2c-dev and i2c-bcm2708 in the /etc/modules. Although not mentioned in the documentation, I had to enable them in the /boot/config.txt by adding the line dtparam=i2c1=on. These files look like this on my systems.
# /etc/modules: kernel modules to load at boot time.
#
# This file contains the names of kernel modules that should be loaded
# at boot time, one per line. Lines beginning with "#" are ignored.
snd_bcm2835
i2c-dev
i2c-bcm2708
# /boot/config.txt
hdmi_force_hotplug=1
enable_uart=1
# camera settings, see http://elinux.org/RPiconfig#Camera
start_x=1
disable_camera_led=1
gpu_mem=128
dtparam=i2c1=onOnce the hardware is accessible, I created a container image based on the alexellis2/python-gpio-arm:armv6
image by Docker Cap’tain Alex Ellis. I then load the necessary components for Python support of the Piglow. See hereafter the Docker file used
.
# Pimoroni's Piglow enabled image for Raspberry Pi
FROM alexellis2/python-gpio-arm:armv6
MAINTAINER Jean-Marc MEESSEN <jean-marc@meessen-web.org>
WORKDIR /root/
RUN apt-get -q update && \
apt-get -qy install python-dev python-pip python-smbus python-psutil gcc make && \
apt-get -qy remove python-dev gcc make && \
rm -rf /var/lib/apt/lists/* && \
apt-get -qy clean allBased on that image, I can derive a container image with the python code (located in the piglow directory).
# Container image that uses Pimoroni's Piglow to show the cpu load
FROM thecaptainsshack/rpi-piglow
MAINTAINER Jean-Marc MEESSEN <jean-marc@meessen-web.org>
WORKDIR /root/
ADD ./piglow/ ./piglow/
WORkDIR /root/piglow
CMD ["python2", "./cpu.py"]The rpi-piglow and rpi-piglow-cpu images are available on Dockerhub and there sources are on this github repo .
But, accessing local hardware resources requires extented privileges. This is why Pimorony recommends running the example programs with Root privileges. Docker is likewise cautious: containers are “unprivileged” by default. The easiest way to “solve” this is to run the container with the --privileged flag. But it boils down to give all privileges to the container, which is a very bad security practice.
Docker Run has several tools to fine tune the container privileges. The --cap-add/--cap-drop allow to fine tune kernel capabilities. AppArmor and SElinux allow also to fine tune the footprint of the container. In the case of the Piglow, the --device directive comes very handy to give access to only the required ressource: the /dev/i2c-1 device. To run our little container the following run command should be used:
docker run --device=/dev/i2c-1 -d thecaptainsshack/rpi-piglow-cpu
The Display-O-Tron Hat
I equipped my two RPi 3 of my lab with these little more sophisticated device. As can be seen from the product sheet , they provide multicolored LCD display, touch buttons, and a white led bar graph. For the workshop, this bar graph could be used as a CPU load display.
I used the same process as for the Piglow to design the Dockerfile.
First the Display-O-Tron hardware must be enable on the host. This is done by adapting the /etc/modules and the /boot/config.txt files. The result looks like this:
# /etc/modules: kernel modules to load at boot time.
#
# This file contains the names of kernel modules that should be loaded
# at boot time, one per line. Lines beginning with "#" are ignored.
snd_bcm2835
i2c-dev
i2c-bcm2708
spi-bcm2708and this:
# /boot/config.txt
hdmi_force_hotplug=1
enable_uart=1
# camera settings, see http://elinux.org/RPiconfig#Camera
start_x=1
disable_camera_led=1
gpu_mem=128
dtparam=i2c1=on
dtparam=spi=on
dtparam=i2c_arm=onDon’t forget to reboot the Pi so that these settings are taken into account.
The Docker image that loads all necessary software to drive the Display is built like this:
FROM alexellis2/python-gpio-arm:armv6

MAINTAINER Jean-Marc MEESSEN <jean-marc@meessen-web.org>

WORKDIR /root/
RUN apt-get -q update && \
    apt-get -qy install python-dev python-pip python-smbus python-psutil gcc make && \
    pip install spidev && \
    pip install dot3k && \
    apt-get -qy remove python-dev gcc make && \
    rm -rf /var/lib/apt/lists/* && \
    apt-get -qy clean all
The Docker image that runs the python code is based on the previously built image:
FROM thecaptainsshack/rpi-display-o-tron

MAINTAINER Jean-Marc MEESSEN <jean-marc@meessen-web.org>

WORKDIR /root/
ADD ./display-o-tron/ ./display-o-tron/

WORkDIR /root/display-o-tron
CMD ["python2", "./cpu.py"
To work the display requires an access to the I2C, the SPI bus but also to the full memory (to access the GPIO). I did not investigate what function requires what access and if it can be selected. It would probably require to adapt the supplied dot3k library. An interesting discussion on the subject can be seen in this Github issue
. For the time being, I had to resort to run the image as --privileged. Bummer.
docker run --privileged -d thecaptainsshack/rpi-display-o-tron-cpu"


